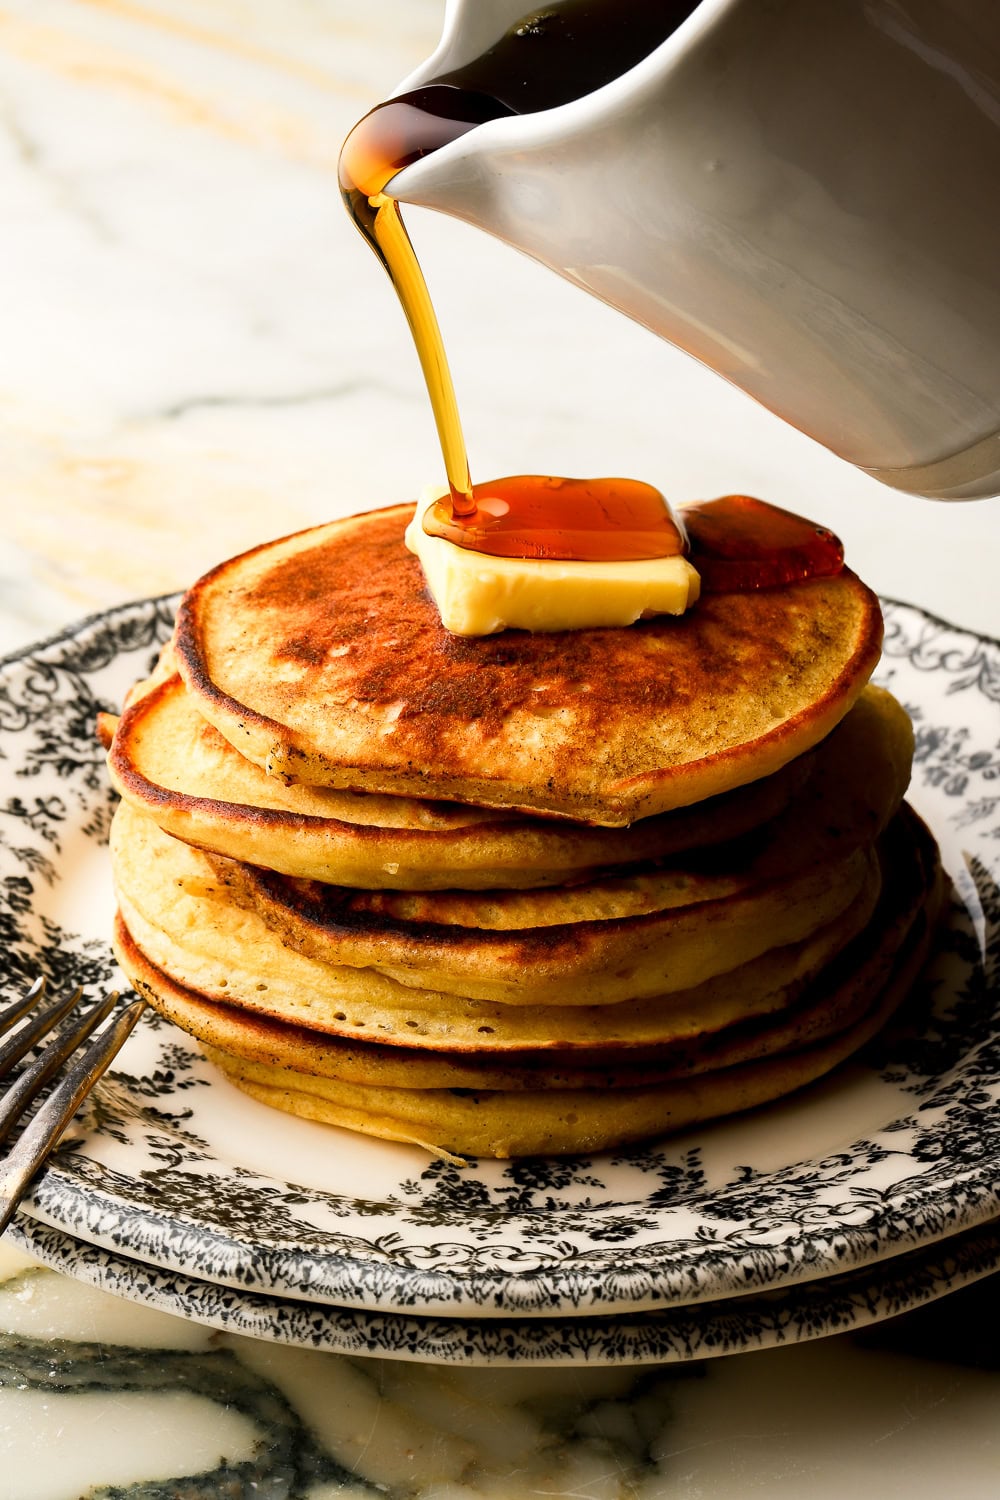
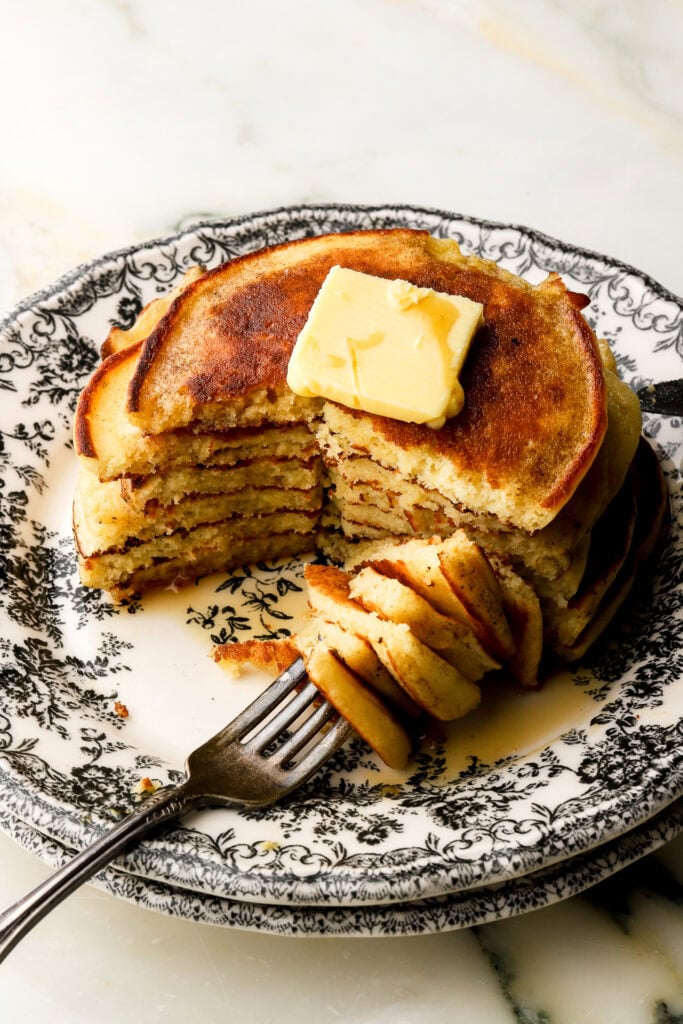
Cottage Cheese Pancakes (Stovetop or Sheet-Pan)
These cottage cheese pancakes are one of my favorite breakfasts to meal prep for my kids because they’re simple, soft, and a little more filling than regular pancakes.
If it were up to them, they would eat pancakes or cream of wheat (also coming soon!) for every meal so I had to figure out a way to make them higher protein without tasting like protein pancakes.
These come together with basic ingredients, reheat well, and can be made either on the stovetop or baked in a sheet pan if you want the easiest batch option.

Ingredient Notes
This section is just a few notes on the ingredients – the full recipe with measurements is in the recipe card below.
- Cottage cheese
Cottage cheese adds protein without tasting like protein pancakes. Full-fat or low-fat cottage cheese works fine. I PROMISE you don’t taste it but you do have to blend it so you don’t get a chunky texture. - Butter
I prefer to use salted butter for the best flavor but oil also works. Sometimes I use avocado oil. You’ll see I don’t add the melted butter into the cold wet ingredients because it can seize from the temperature difference and get clumpy. - Sweetener
If I make these for my baby, I avoid the sugar completely but for the rest of the family I usually add in a little maple syrup or sugar to the batter. They’re not super sweet which is good if you’re serving them with syrup, chocolate chips or fruit.
TIP: I HIGHLY recommend using a digital scale, as dry ingredients are almost always over measured.
The Method: How to Make Cottage Cheese Pancakes
These pancakes can be made either on the stovetop or in a sheet pan, depending on how you want to prepare them.
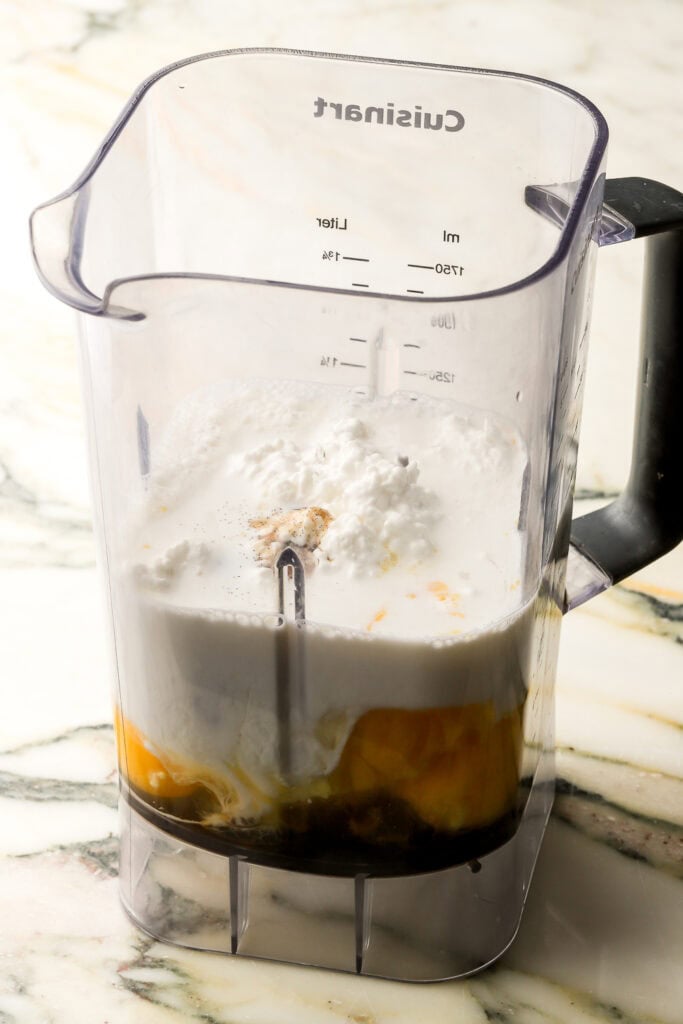
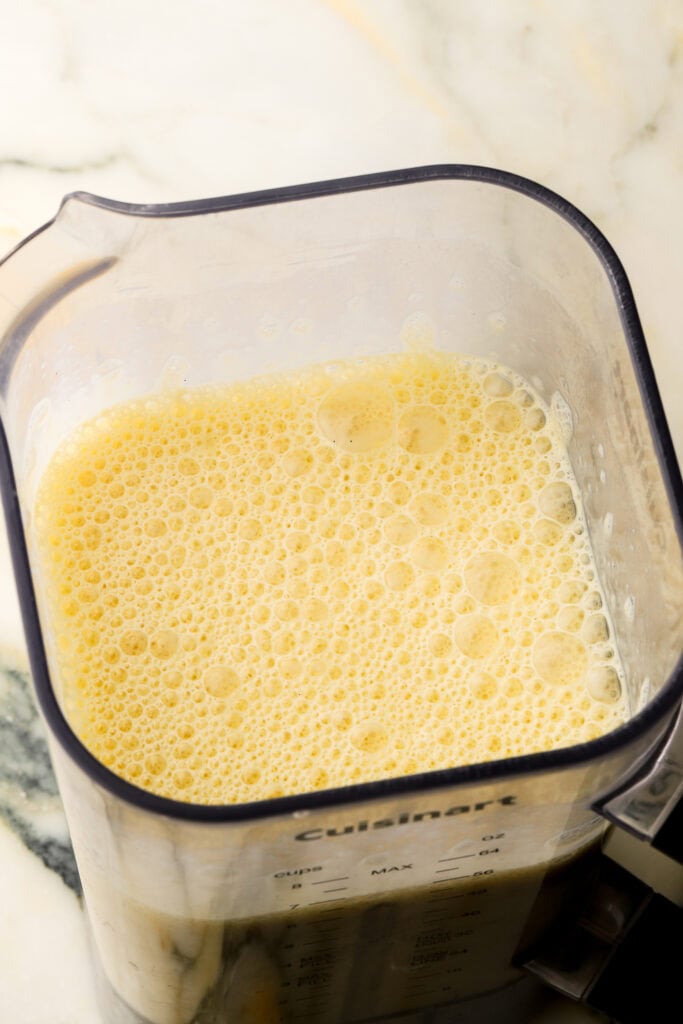
- Blend together the cottage cheese, eggs, vanilla, maple syrup and milk.
- Whisk together flour, salt and baking powder.
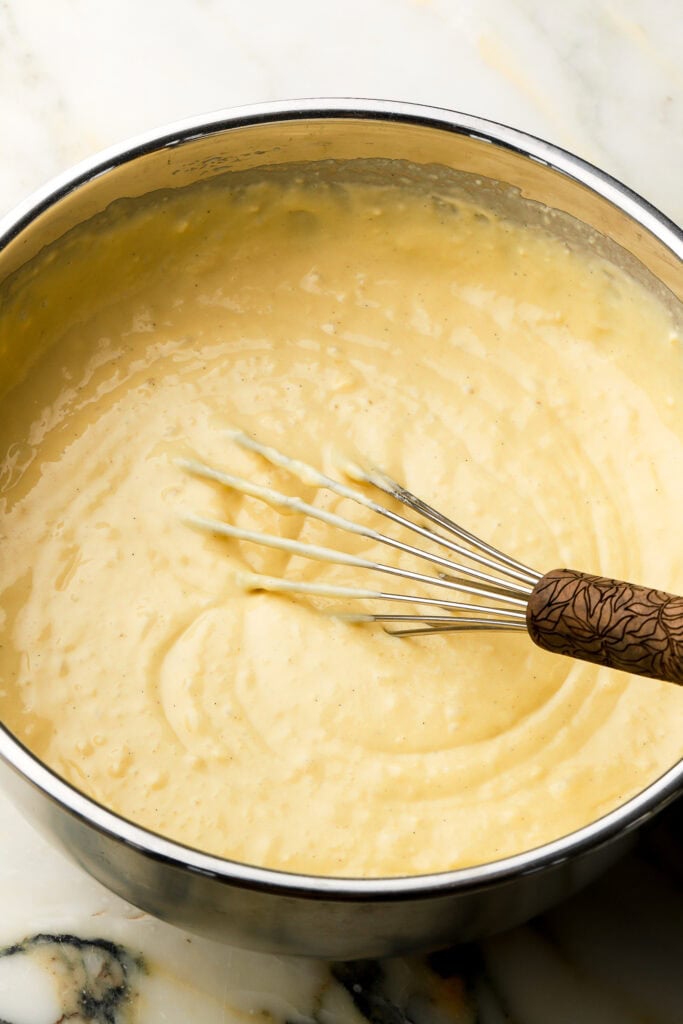
- Pour melted butter on top of flour followed by the wet ingredients.
- Whisk the batter until it’s combined.
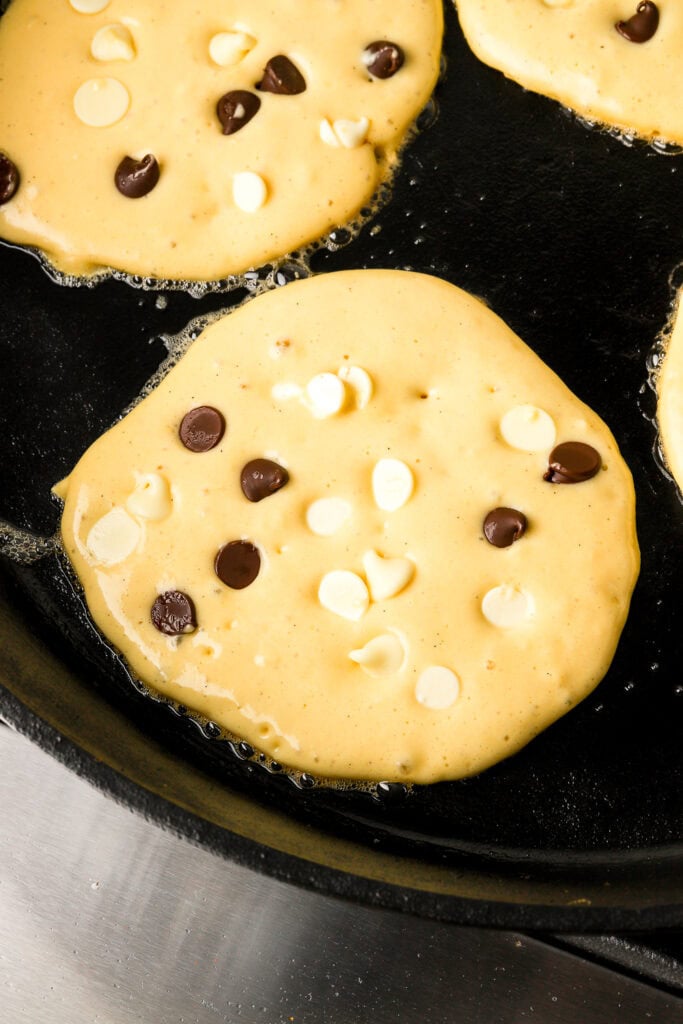
- Fold in chocolate chips (or blueberries), if using.
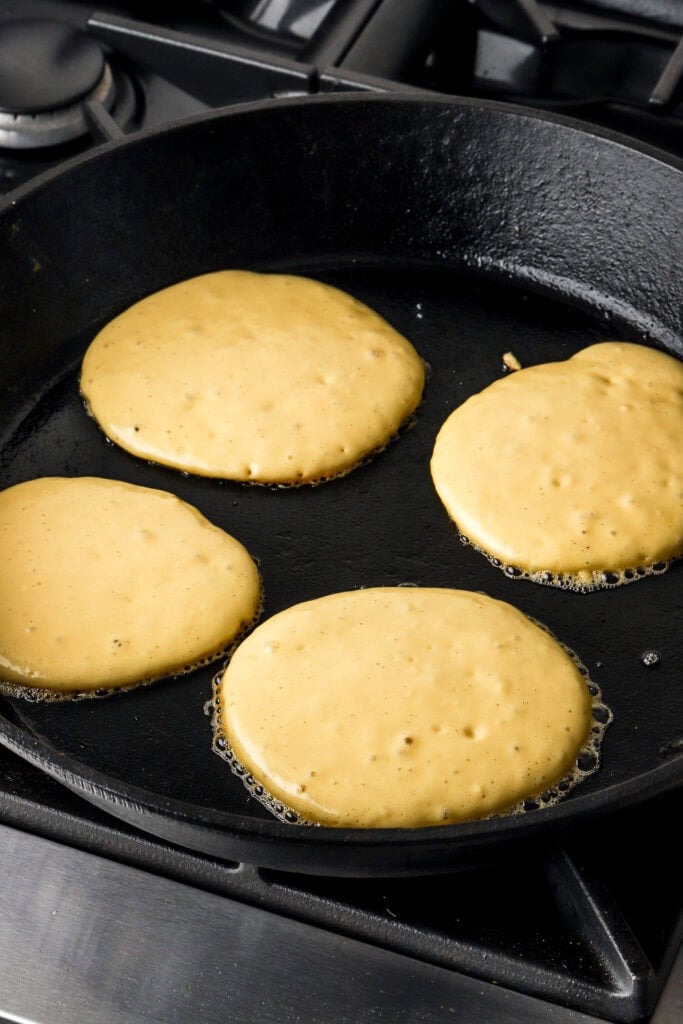
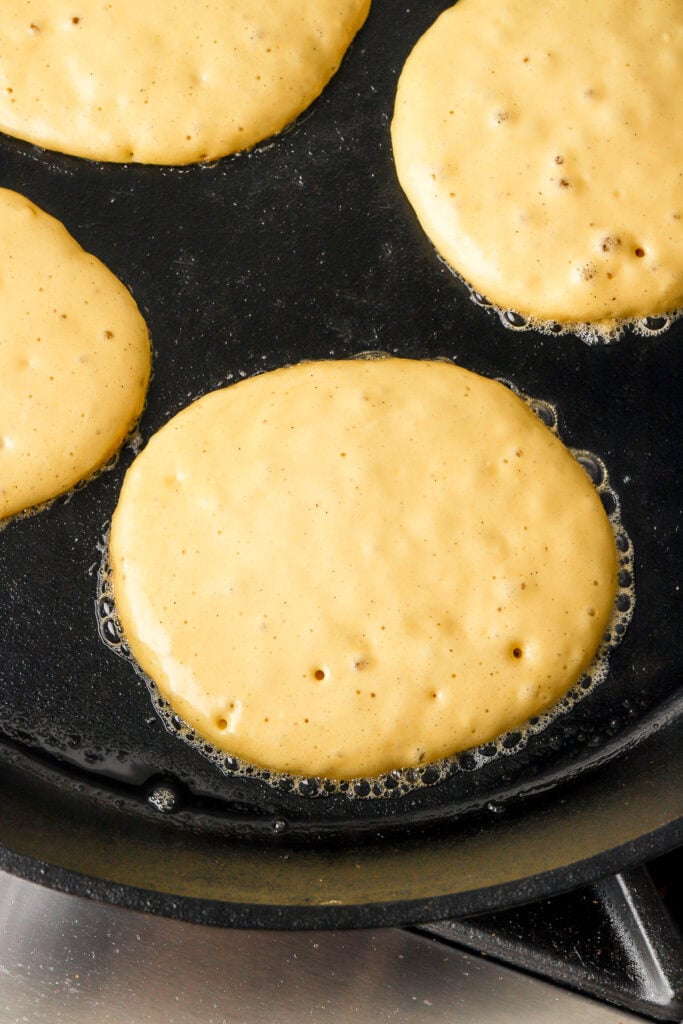
- For stovetop pancakes, scoop the batter onto a greased skillet or griddle and cook until golden brown on both sides.
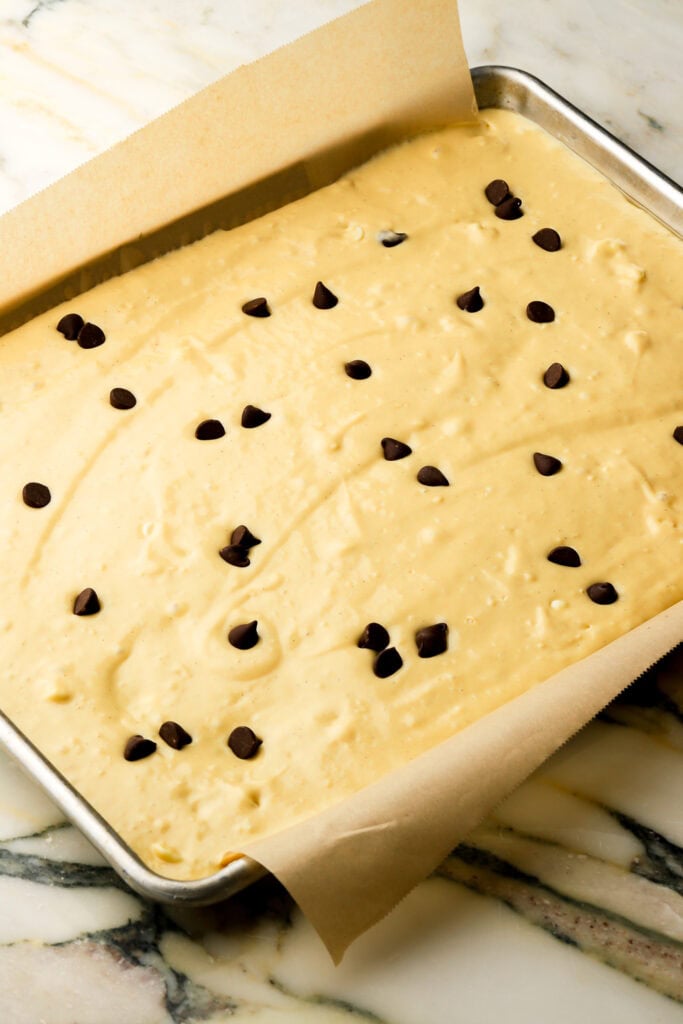
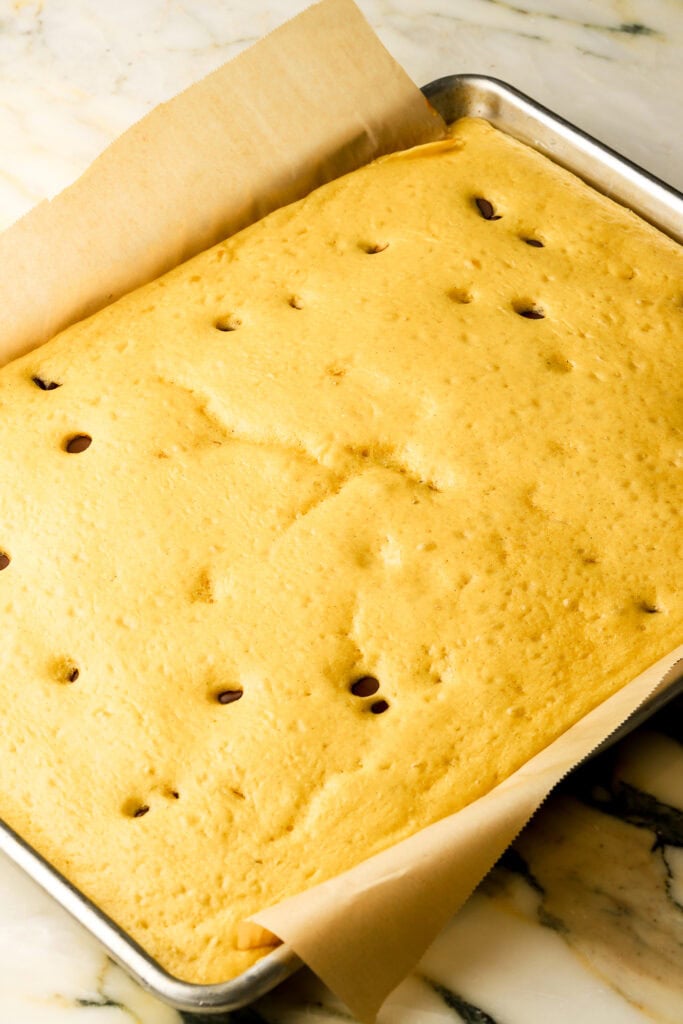
- For sheet pan pancakes, spread the batter into a lined and greased sheet pan and bake until set and lightly golden.
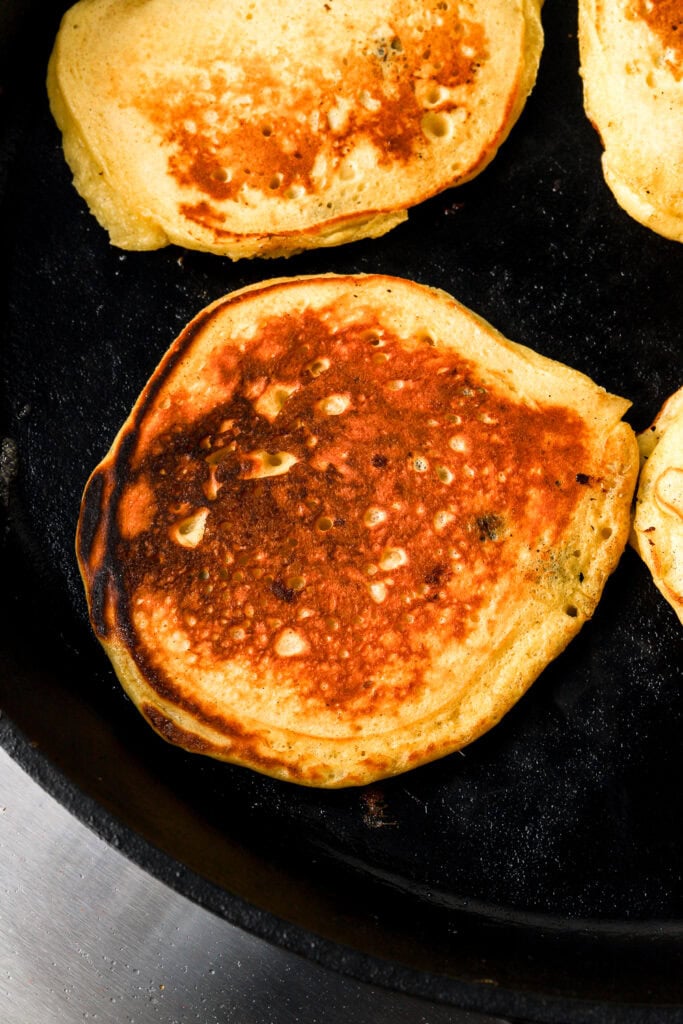
Tip: For stovetop pancakes, flip them once you see a good number of bubbles rising to the surface and the edges look slightly set — see image below.
Stovetop vs. Sheet Pan
Both methods work well, but they each have their own advantage.
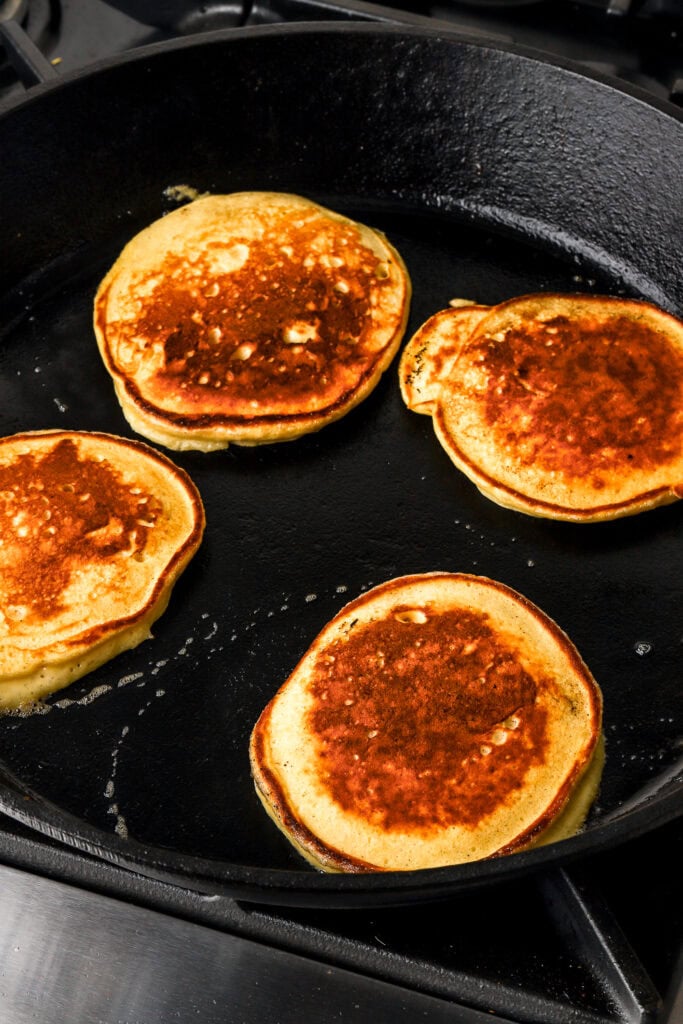
Stovetop
The stovetop version is just like a classic pancake. The edges get nice and browned, the centers stay soft, and the texture is a little fluffier. They do take slightly longer to cook than traditional pancakes so make sure not to keep the heat too high so they don’t get too dark on the pan.
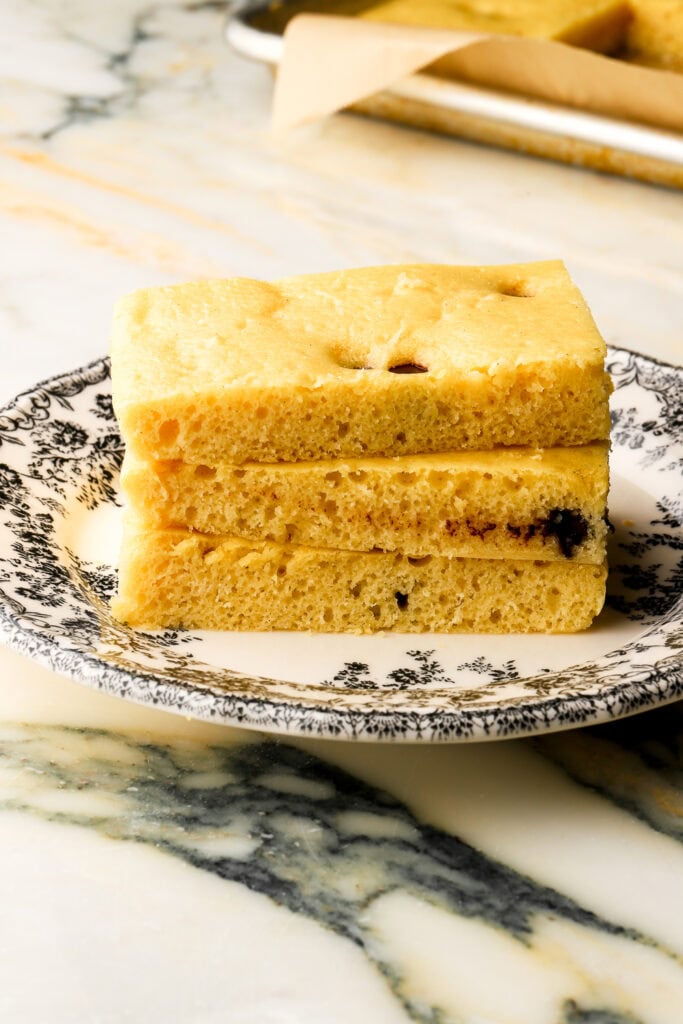
Sheet Pan
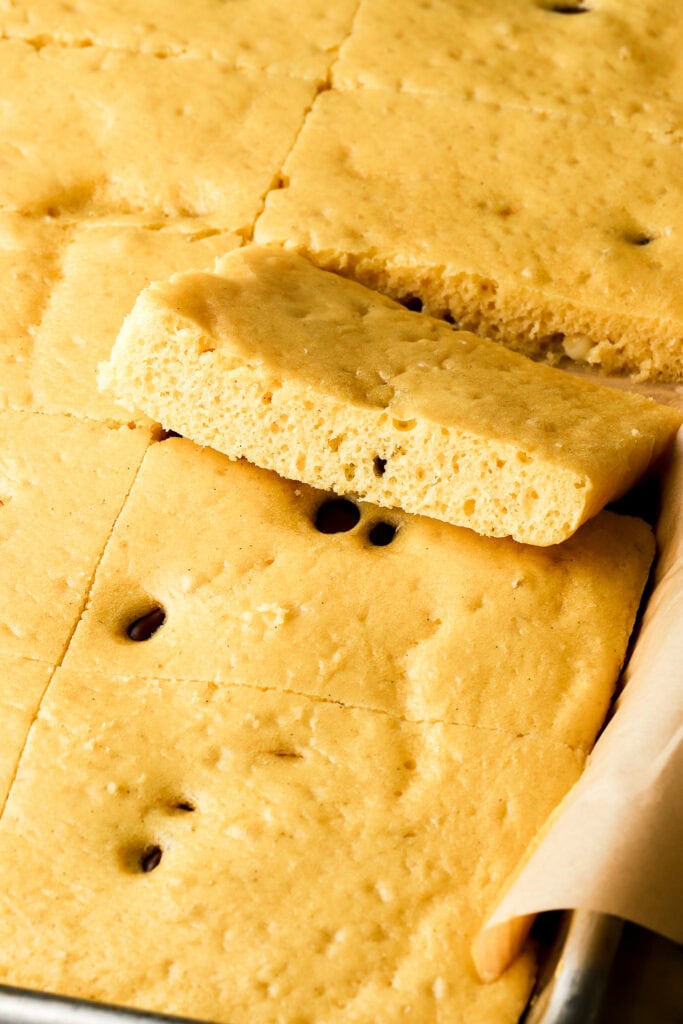
The sheet pan version is the easiest option when I’m making these for meal prep. You can bake the whole batch at once, slice it up, and store it for quick breakfasts throughout the week.
If I’m making them fresh to eat right away, I usually go with the stovetop. If I’m making a batch ahead for busy mornings, I do the sheet pan version.
For the best of both worlds, I almost always prepare a double batch, cook half on the stovetop right away and bake the other half for breakfast meal prep for the week.
Different Ways to Flavor Pancakes
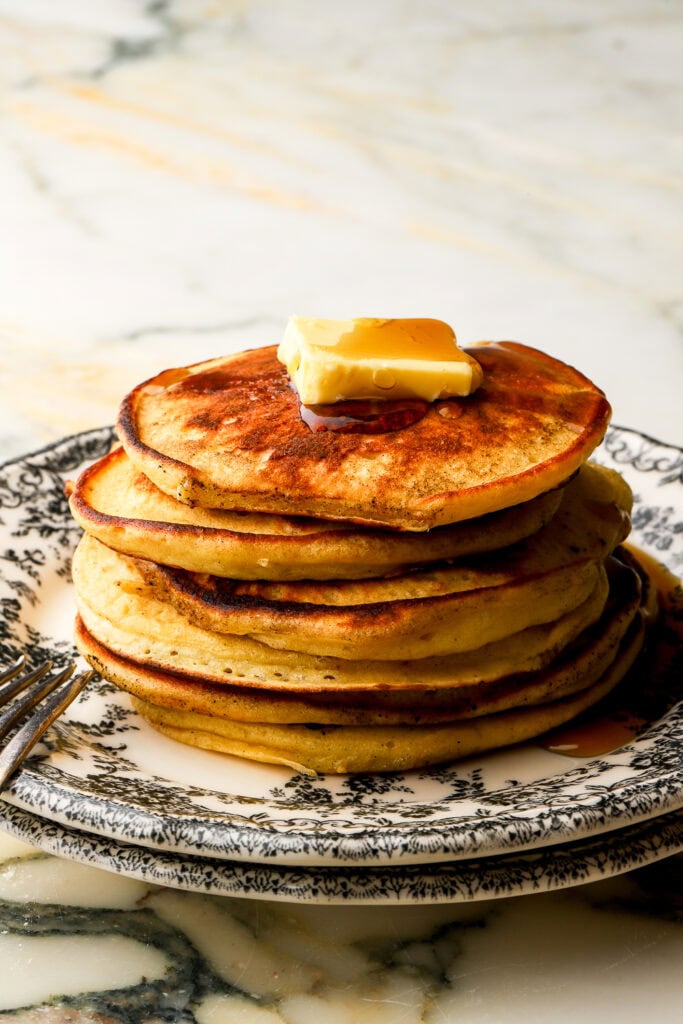
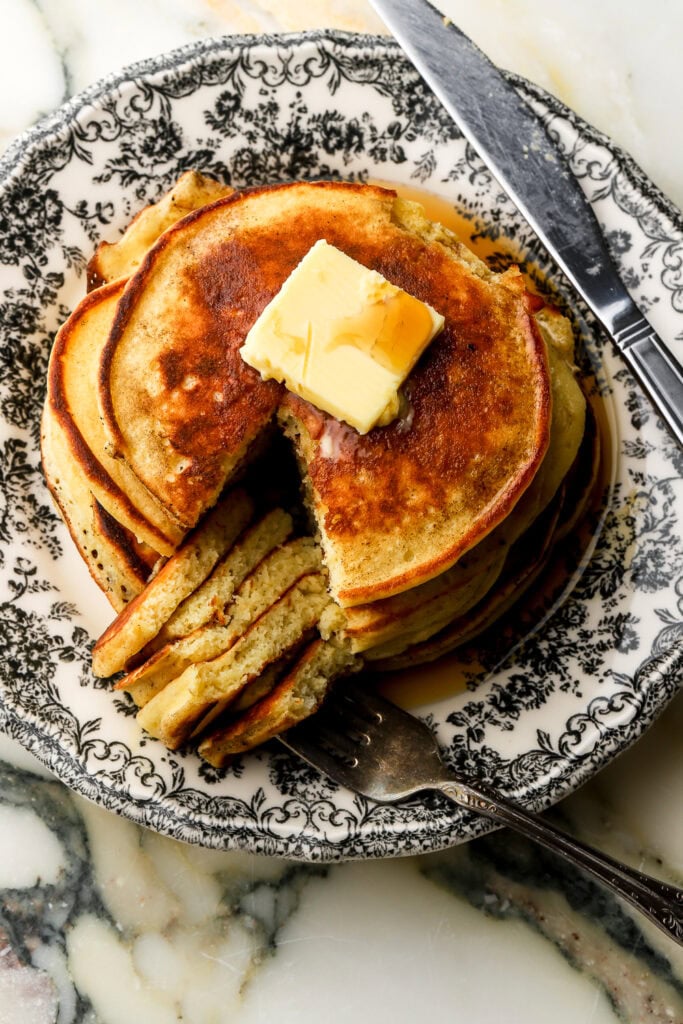
These pancakes are so good plain with just butter and maple syrup on top but they also work really well with a few easy flavor additions.
- Extracts: I use 2 tsp vanilla bean paste or vanilla extract but any extract works fine, almond would be really good too.
- Spices: add 1/2 to 1 teaspoon of cinnamon, pumpkin spice, etc. for a warmer flavor
- Blueberries: fold fresh or frozen blueberries into the batter (I like wild blueberries because they’re smaller)
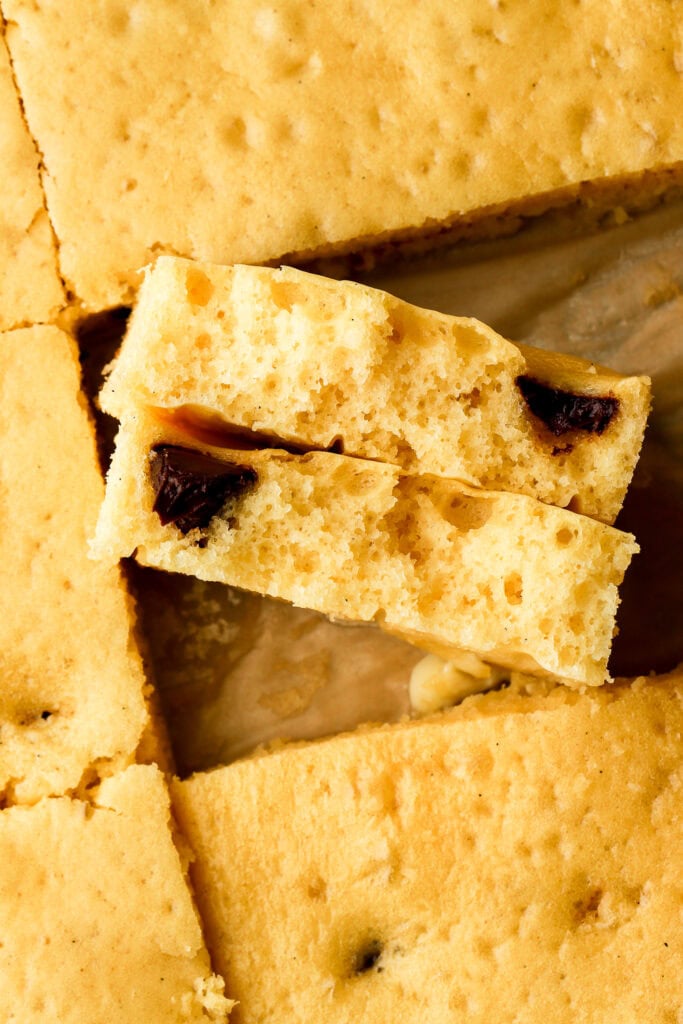
- Chocolate chips: measure with your heart – we make these with white chocolate and dark chocolate chips
- Citrus zest: lemon or orange zest add a fresh, bright flavor
- Mashed banana or pumpkin puree: 1 banana or about ½ cup makes them a little sweeter and softer
Our favorite way to eat them is with white chocolate chips folded into the batter. Then I spread peanut butter on top of each pancake, stack them, and drizzle a little maple syrup on top.
How to Store and Reheat
Store the pancakes in an airtight container in the refrigerator for 3-4 days.
To reheat, warm them in the microwave for a few seconds, in a skillet over low heat, or in the toaster oven until heated through.
These also freeze well. Once cooled, place them in an airtight container or freezer bag with parchment between layers if needed. Freeze for up to 2 months and thaw or reheat as needed.
To skip the parchment, you can also freeze them in a single layer on a cookie sheet and then stack them in an airtight container so they don’t stick together.
If you like having breakfast prepped ahead, my Baked Croissant French Toast is another great option to make in advance and reheat throughout the week, and my Vanilla Muffins (plus all the flavors I’ve adapted from them) also keep well for days.
If you try these pancakes, let me know how you like them and how you customized them. I would also really appreciate it if you left a review or a 5-star rating.
As always, have a blessed day and happy baking!
Love, B